

IsoMax
Resilient Sound Isolation Clip
Overview: IsoMax Sound Isolation Clip
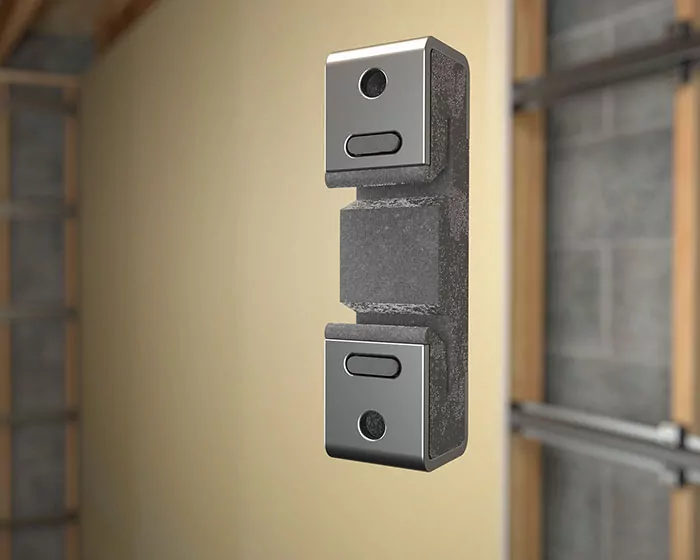
IsoMax is a cost-effective, high-performing, resilient sound isolation clip that achieves STC 55+ when used in single-stud wall assemblies. It is installed between the wall framing and drywall to decouple the drywall from the structure and prevent sound from transmitting from room to room.
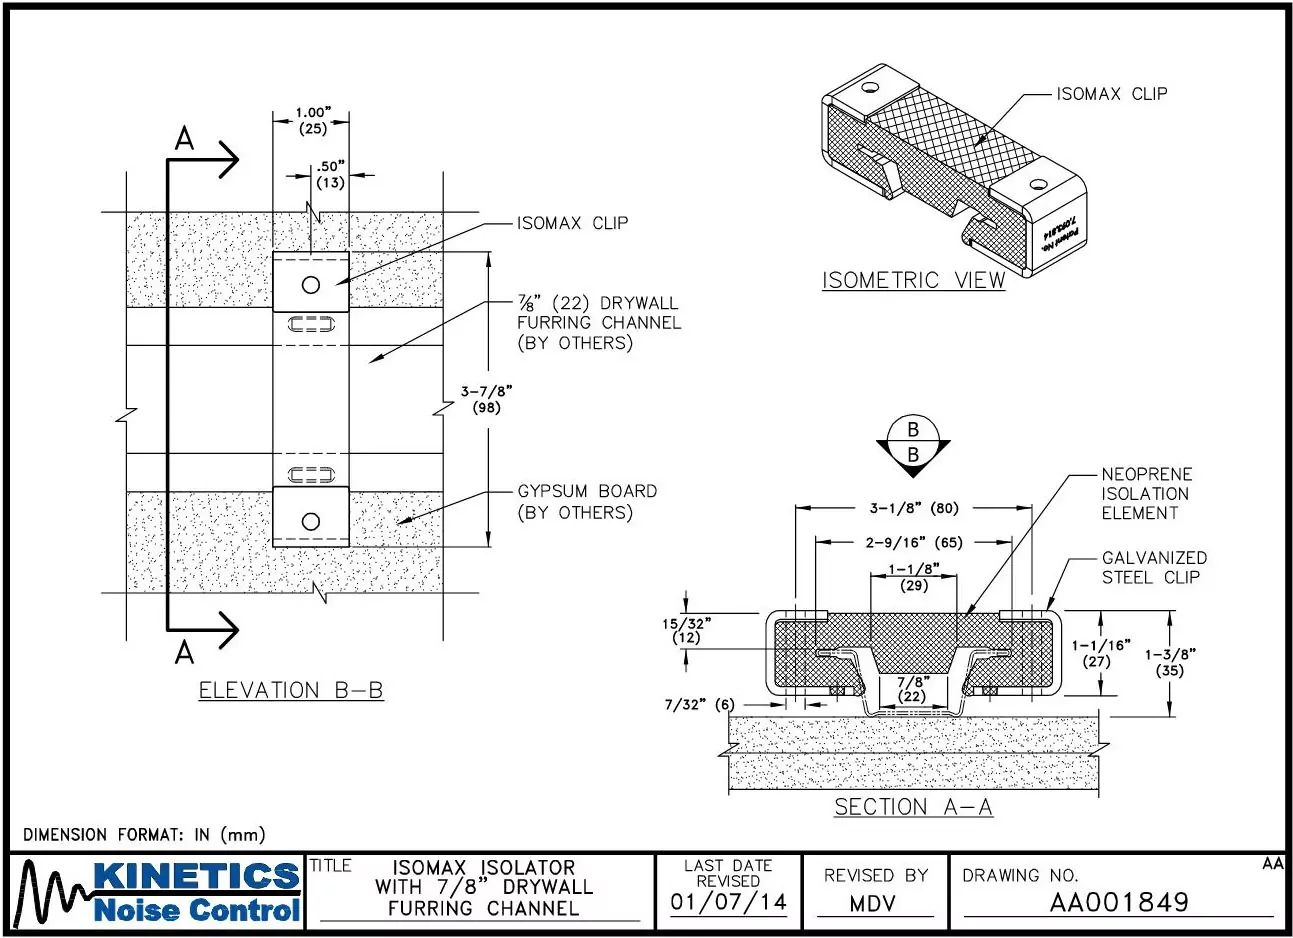
The clip is flexible and easily snaps onto a standard drywall furring channel for a quick and easy install.
IsoMax can be used in the following UL-rated assemblies: L521, L528, L583, L587, M540, U305, U356, U419, V310, V489, V498, W307.
FAQs
What are Sound Isolation Clips?
Sound isolation clips are used to decouple the drywall, the studs, or joists. Decoupling the drywall significantly reduces the amount of sound transmitted through the wall or ceiling in which the clips are installed.
Why is IsoMax the best sound clip?
IsoMax clips are flexible and easy to snap around the hat channel. IsoMax does not have any metal-on-metal contact. IsoMax clips can also carry higher loads than other clips (max load is 50lbs. per clip). The drywall hat channel is held in place entirely with rubber.
How do I layout resilient clips for a wall or ceiling?
When installing 2 layers of drywall, the spacing of the clips should be a maximum of 48 inches along the furring channel. Furring channels should be spaced a maximum of 24 inches apart. Rows of furring channels should be a maximum of 3” from the edge of the wall or ceiling and channel cantilevers from clips at the edge of the wall should not exceed 12 inches. Refer to the following installation guidelines for more details.
How many layers of drywall should I install with clips?
IsoMax clips are designed for 2 layers of drywall when the clips are spaced in a 24”x48” configuration. Additional layers may be used by changing the clip layout and the gauge of the hat channel. For any variations, please contact us to review your project application!
What is a hat channel and where do I source it?
Hat channel, or drywall furring channel, is shaped like a hat. IsoMax requires a minimum 25 gauge hat channel with a hemmed edge. We recommend installing 20 gauge hat channels with the IsoMax clip, however. The standard depth is 7/8”. Hat channel is available at most local building material supply stores.
What type of screws do I use?
For wood studs, use #8 2-1/2” course thread screws. For steel studs, use #8, #10, or #12 1-5/8” self-tapping Type S screws. For concrete or masonry – use 3/16” diameter 2-1/4” Tapcon or equal anchors.
What’s the difference between a resilient channel and a resilient clip?
Resilient channel and Resilient clips are both used to decouple drywall from framing. Resilient clips provide better acoustical performance because they provide better decoupling, their installation is more foolproof with ensuring acoustical performance, and clips can be added to accommodate additional layers of drywall or elements like wall hangings or cabinets. Resilient channel is a thin piece of light gauge metal that is often incorrectly installed or short-circuited acoustically by using the incorrect screws. Resilient channel has weight limitations in terms of the number of layers of drywall that can be installed or finishes or fixtures that can be applied to the wall.
Can IsoMax be used with fire-rated assemblies?
The IsoMax clip has a one-hour fire rating. See UL H514, L521, L528, L583, L587, M540, U305, U356, U419, U310, V489, V498, W307. Contact us for more information about fire-rated assemblies.
Tech Specs
General Specifications for IsoMax Sound Isolation Clips
The IsoMax sound isolation clip provides several unique benefits, including:
- Higher load-carrying capacity than other resilient clips
- Foolproof installation as compared to resilient channels that are frequently installed incorrectly
- Simpler installations that avoid accidental short circuits
Use IsoMax sound isolation clips to effectively reduce sound transfer between walls and ceilings. For more detailed product information, please review our IsoMax manufacturer brochure.
Installation Guide & Additional Information on Our Resilient Sound Isolation Clips
For those well-experienced in noise control and sound isolation installations, placing an IsoMax clip is a simple process. However, to ensure it is mounted correctly, we’ve provided some essential installation details below:
IsoMax Installation Overview
- The first step in the installation process is to calculate the loads to be carried by the clip and make sure the spacing is such that each clip carries less than 50 lbs. For example, if you have (2) layers of 5/8″ drywall and the clips are at a 24″ x 48″ spacing, then each clip is carrying 37lbs. With more than two layers of drywall, the spacing will need to be tightened.
- Once the IsoMax clip loads and spacing have been accurately calculated, fasten two clips at the end of a row to the studs/joists.
- Finally, snap the clips within that row to the hat channel and fasten these to the framing.
For even more detailed information about adequately installing an IsoMax resilient sound isolation clip, read the manufacturer’s installation guidelines.
Keep Noise In & Out
Isomax is just one of the many sound isolation solutions Acousthetics offers to designers, architects, and acoustical consultants. Contact us for additional info, quotes, samples, or more.
